(
English version): The Manorhouse proposed paint color scheme is beatiful
(look this gallery!) but for me was very important to match the same color of Dwarven Forge and of many other objects I already have...the reason is explained in the previous post...have the possibility to combine all my stuff together.
here a quick paint tutorial:
1 step (left picture): base color..not a black, but very near..a very dark grey with a bit of brown (the color is with a lot of water)
2 step (right picture): drybrush with a medium-dark grey (again a bit of brown)
(
Italian version): Lo schema di pittura proposto da Manorhouse è bellisimo
(guarda questa gallery!) ma per me era imporante riprodurre lo stesso colore dei pezzi Dwarven Forge e delle mie altre scenografie..la ragione è spiegata nei precedenti post..avere la possibilità di combinare tutte le mie scenografie assieme.
Qui un veloce tutorial di pittura:
1 Passo (foto a sinistra): colore di base..non un nero ma quasi..un grigio molto molto scuro con una punta di marrone (il colore è abbastanza liquido).
2 Passo (foto a destra): effettuare un drybrush con un grigio medio-scuro (sempre con una punta di marrone).

(
English version):
3 step (left picture): Now I made a wash with a dark brown color in some areas (not everywhere), only in the areas where more contrast was needed, in order to outline better the stones.
4 step (right picture): drybrush with a ochra (if the effect is too yellow on some areas, use your finger to clear a bit of color, I know is not an advanced technique :-D but I made in this way)
(
Italian version):
3 Passo (foto a sinistra): Ora ho fatto un operazione di wash con del marrone scuro in alcune aree (non ovunque), solo dove un maggior contrasto era necessario, per delineare meglio le pietre.
4 Passo (foto a destra): Drybrysh con del color ochra (se l'effetto è troppo giallo in alcune aree, rimuovete un po con il dito...lo so non è una tecnica molto avanzata :-D ma io ho fatto cosi)
(
English version):
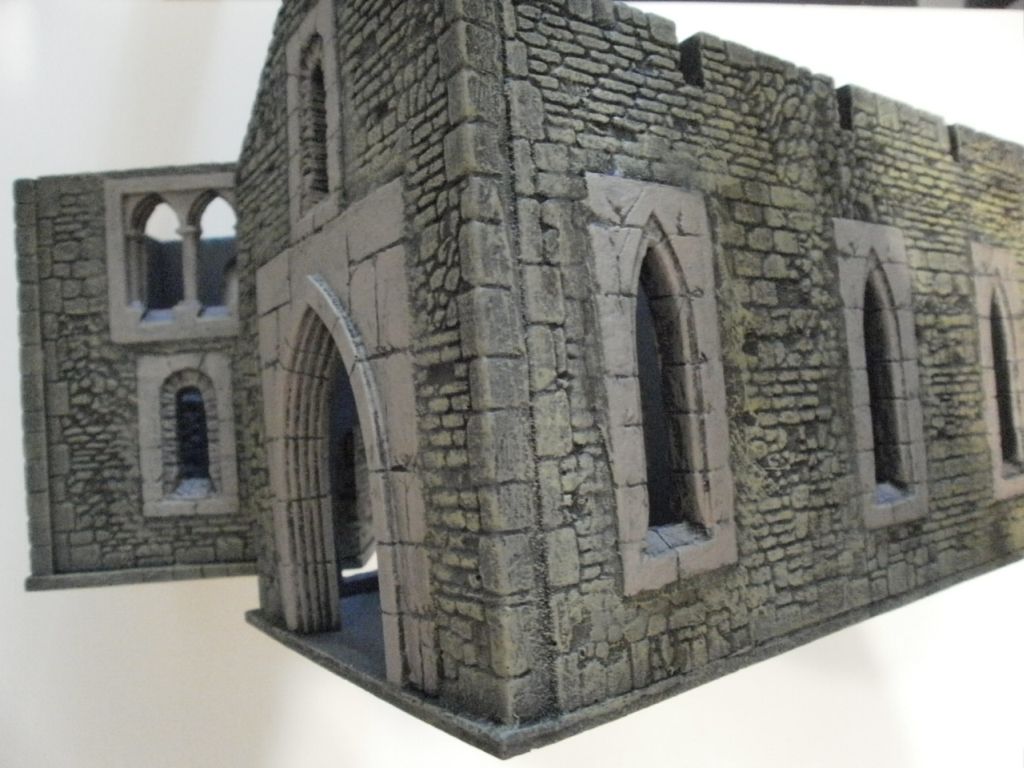
5 step (left and center pictures): With a light gray (white and bit of brown) I made a drybrush (not completely dry) on the windows (also on the columns of the cloister)
6 step (right picture): With two different brown, I painted randomly some stones..
(
Italian version):
5 Passo (foto a sinistra e al centro): Con un grigio chiaro (bianco e una punta di marrone), ho effettuato un drybrush abbastanza umido nell'area delle finestre (Anche sulle colonne del chiostro).
6 Passo (foto a destra): Con due differenti marroni, ho colorato casualmente qualche pietra.
(
English version):
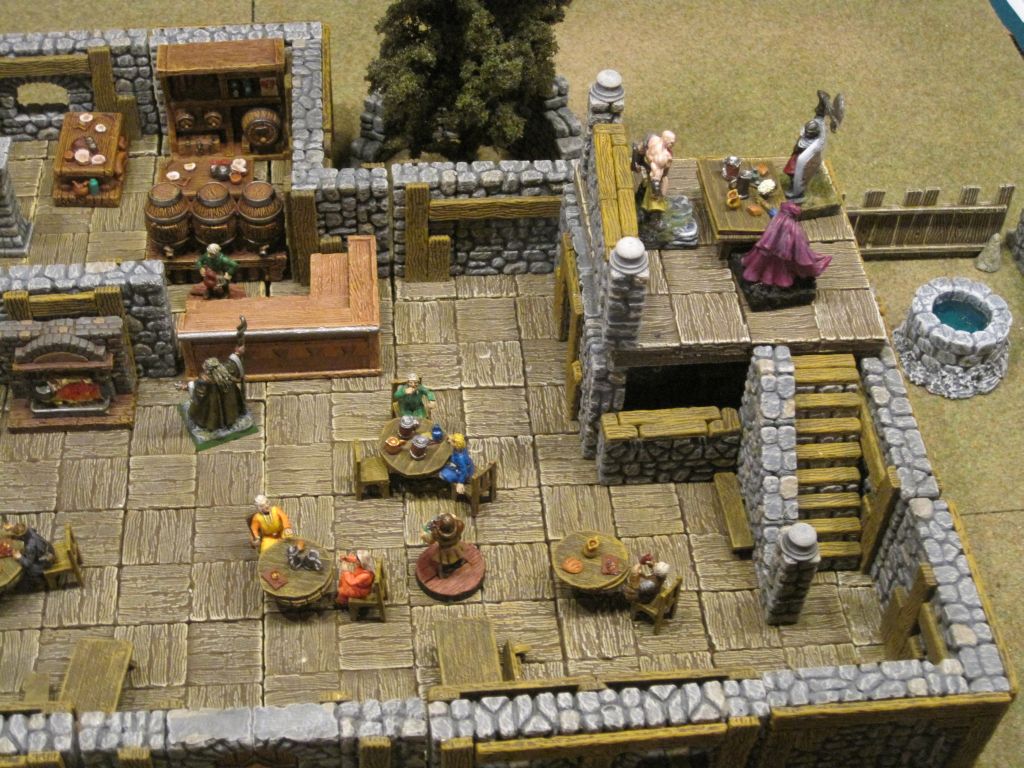
7 step (left and center pictures): Roofs are made with a dark brown base color, and a drybrush with a "brick" color.
8 step (right picture): Inside the buildings at the moment I made just a quick job (I painted just the floors)..but for my need probably is ok.
(
Italian version):
7 Passo (foto a sinistra e al centro): I tetti sono fatti con un marrone scuro come colore base, e un drybrush con un color cotto.
8 Passo (foto a destra): L'interno degli edifici al momento è pitturato molto velocemente (ho dipinto solo i pavimenti), ma probabilmente per il mio utilizzo è gia ok.
(
English version):
Below some pictures of the painted kit:
(
Italian version):
Sotto alcune foto del Kit dipinto.
Endar