
My first idea was to make many big modular tiles (50x50cm) with different outdoors enviroments (hills, river,etc) and combine them on the tables.
But I rejected this idea for 3 reasons..too much space to store all the tiles, to much time (and money) to create enough tiles, and above all, this system is not flexible enough for Rpg (it's ok for wargames..where is not a problem to use often the same hill,etc).
So I changed my plan..
use just a big flat ground, and put stuff on it..
Combining differently these stuff I can obtain infinite combinations...at the moment this way is for me the best compromize between final result and cost (money,time,space).
To make the Modular Hills just few materials are needed.. extruded polystyrene, glue, sand, grass flock, colors (left picture below)
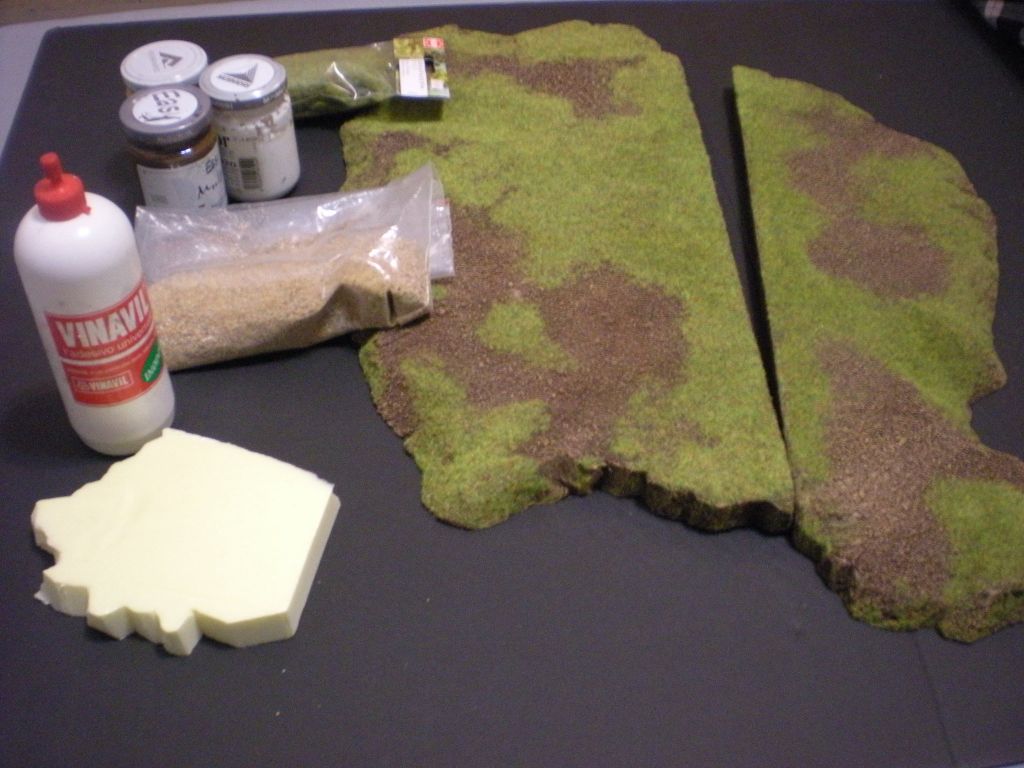

Taken a grass mat (right picture above) from Railway Modelling, I modified it, with just a thin light green felt pen, in order to have a grid.
Then you need different heights to obtain something that seems natural...
I used extruded polystyrene (worked with a cutter) in order to create many different "modular hills"..
some of the them have a straight side (with a standard lenght), so I can combine them togheter in different way.


Below some other example of what you can obtain..
for me was interesting to find that I can use these modular hills even to create,big rivers, lakes, the sea, crevasses,etc....
so are not just hills, but something that it's used to create different heights on the map.


The create the modular hills the steps are the following:
Glue> sand > paint with brown >drybrush with a lighter tone> glue (only where you want grass)> grass flock (same type of your mat!)
obviously I never use GW,Vallejo,etc colors, for terrain I use only cheap acrylic color.
Of course it's possible to add a grid also to the hills, or in the same way of the mat with a felt pen, or engraving the polystyrene (with a cutter, with an hot wire,etc).
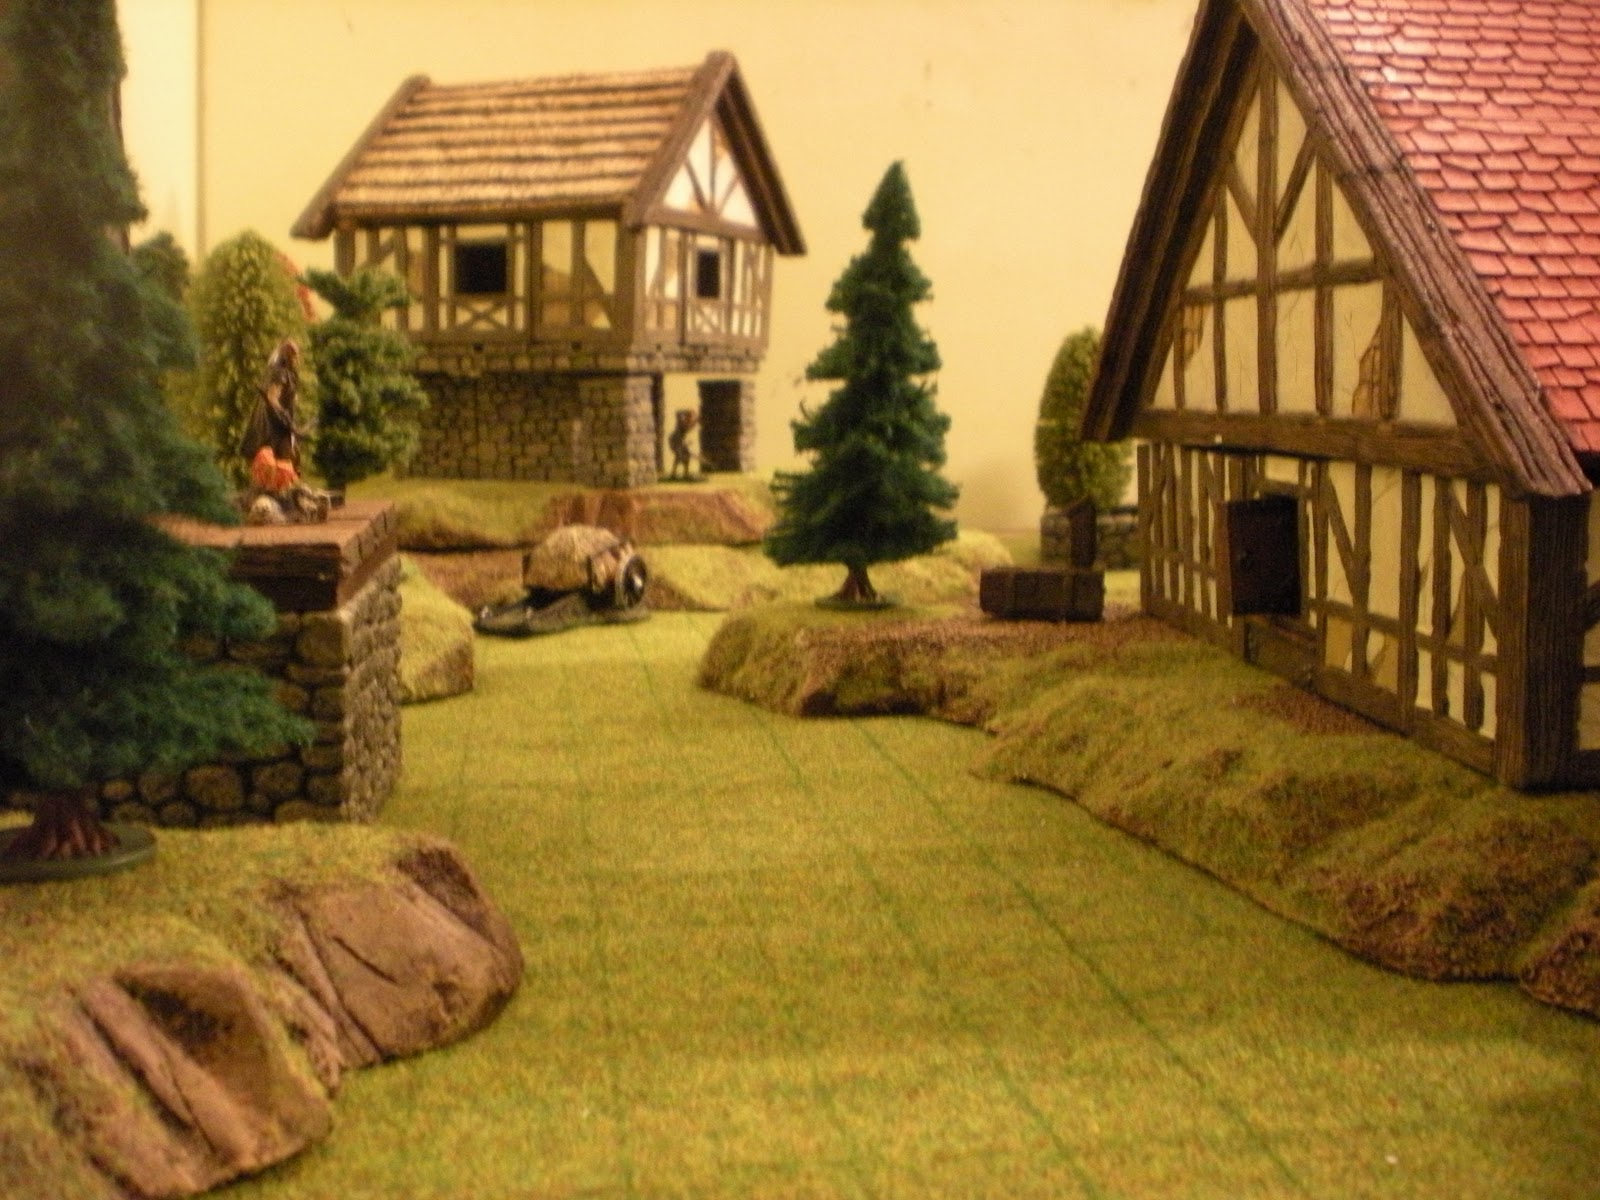
In my opinion respect a flat ground, different heights create a table much more interesting.
the two pictures below are good examples.

Great tutorial! I finished 4 of my own hills last week after I got inspired by your first posts. I'm actually thinking about making some modular tiles with different outdoors environments, because my game mats don't cover everything. They cover snow, water, sand and of course green grass, but I would like to have some scorched earth and a more darker looking board for cemeteries etc.
ReplyDeleteWhat would you use as a base plate? Molded chipboard or something else?
And btw: I'm totally looking forward to your next post! :)
-Kronos
Thanks Kronos, also setups from your campaign are really nice.
ReplyDeleteI don't like chipboard,it's heavy and with humidity bends easily, I prefer MDF or plywood.
also a base with extruded polystyrene it's not so bad..it's easy to damage the edges, but it's chip ,it's really light, and it never bends
Can you make a insturction page for this cause this is confusing in some ways
ReplyDelete